

View the source code here
In this article, you'll learn how to make a calculator with basic functionalities using the Vue 3 Composition API.
Assuming you already have vue installed, you can start by running the command vue create calculator-app to create our app. After the installation has been completed, we can go into our app directory and delete the default component then go directly into our App.vue file. Add this to your template tag and your style tag.
<template>
<div class="flex">
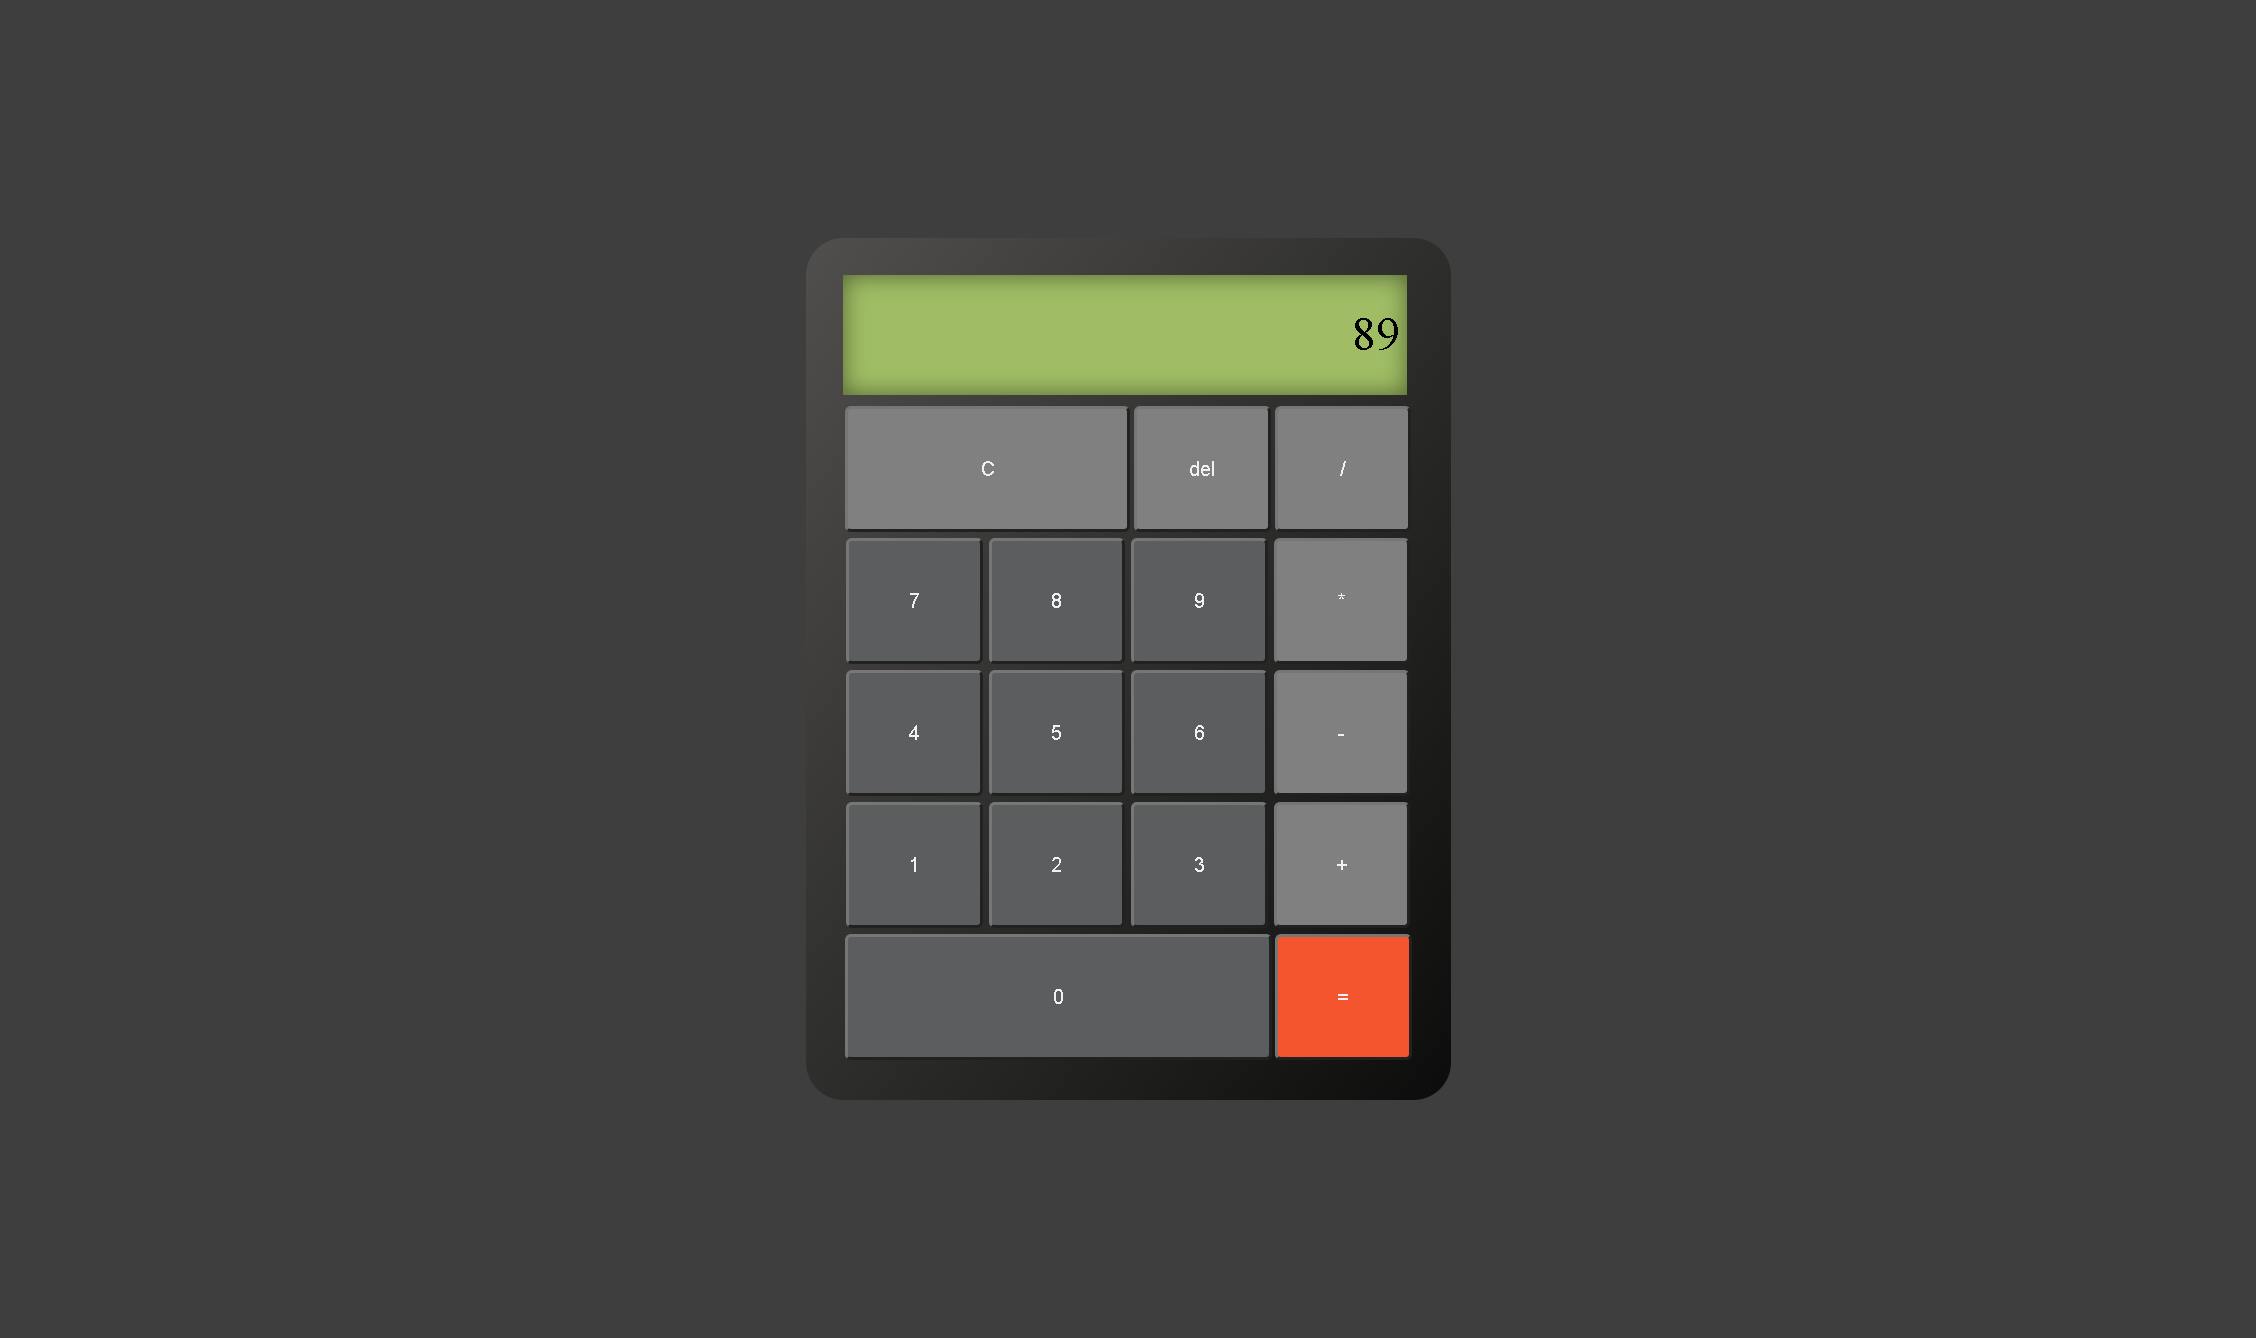
<div class="calculator">
<div class="input-wrap">
<div class="input">{{ selectedNum }}</div>
</div>
<div class="button-wrap">
<button class="clear" @click="clear('C')">C</button>
<button class="delete" @click="delInput">del</button>
<button class="divide" @click="keyPressed('/')">/</button>
<button class="number" @click="keyPressed('7')">7</button>
<button class="number" @click="keyPressed('8')">8</button>
<button class="number" @click="keyPressed('9')">9</button>
<button class="times" @click="keyPressed('*')">*</button>
<button class="number" @click="keyPressed('4')">4</button>
<button class="number" @click="keyPressed('5')">5</button>
<button class="number" @click="keyPressed('6')">6</button>
<button class="minus" @click="keyPressed('-')">-</button>
<button class="number" @click="keyPressed('1')">1</button>
<button class="number" @click="keyPressed('2')">2</button>
<button class="number" @click="keyPressed('3')">3</button>
<button class="plus" @click="keyPressed('+')">+</button>
<button class="number largeno" @click="keyPressed('0')">0</button>
<button class="result" @click="keyPressed('=')">=</button>
</div>
</div>
</div>
</template>
In your style tag
<style>
* {
  padding: 0;
  margin: 0;
  box-sizing: border-box;
}
.flex {
  display: flex;
  justify-content: center;
  align-items: center;
  height: 100vh;
  background-color: rgb(63, 63, 63);
}

.calculator {
  width: 90%;
  max-width: 430px;
  padding: 25px;
  border-radius: 25px;
  background: linear-gradient(to bottom right, #524f4f, #0c0c0c);
}

/* input */
.input-wrap {
  position: relative;
  width: calc(100% - 4px);
  overflow-x: scroll;
  -ms-overflow-style: none;
  scrollbar-width: none;
  margin-bottom: 5px;
  padding: 0 5px;

  background: #a1bd66;
  text-align: right;
  box-shadow: inset 0px 0px 15px 0px rgba(0, 0, 0, 0.5);
}
.input-wrap::-webkit-scrollbar {
  display: none;
}

.input {
  height: 5rem;
  line-height: 5rem;
  font-size: 2rem;
}

.smalltext {
  position: absolute;
  right: 5px;
  top: 0.25rem;
  color: grey;
}

/* button */
.button-wrap {
  display: flex;
  width: 100%;
  flex-wrap: wrap;
  justify-content: space-around;
}

.button-wrap > button {
  width: calc(25% - 4px);
  text-align: center;
  line-height: 5rem;
  margin: 2px 0;
  background: grey;
  color: #f1f1f1;
  border-radius: 4px;
  cursor: pointer;
  user-select: none;
  outline: 0;
  transition: 0.3s;
}

.button-wrap > button.largeno {
  width: 75%;
}
.button-wrap > button.clear {
  width: 50%;
}

.button-wrap > button.number {
  background: #5d5d5f;
}

.button-wrap > button:hover {
  box-shadow: inset 0px 0px 15px 0px rgba(0, 0, 0, 0.3);
}

.button-wrap > button.result {
  background: #f55530;
}
</style>
Great. Now that we're done with the basic styling, we can finally implement our logic for the calculator. Unlike the options API which uses features like data, methods, and mounted for reactivity in our components, the composition API has only a single setup hook that we'll use. Let's go to our script tag and add this to it.
<script>
import { ref } from "vue";
export default {
  setup() {
    const selectedNum = ref("");

    const keyPressed = (input) => {
      selectedNum.value = selectedNum.value + input;
    };

    return {
      selectedNum,
      keyPressed,
    };
  },
};
</script>
Now, whenever we click a button on our calculator, it displays on our screen. What exactly is happening here?
We create a variable called selectedNum and call it within our template. In order to make it reactive, we add this to our script tag import { ref } from "vue"; within the setup method, we created a function called keyPressed that's called whenever a button within the calculator is pressed.
    const keyPressed = (input) => {
      selectedNum.value = selectedNum.value + input;
    };
That function takes in the value of the pressed button as a parameter and whenever another value is pressed, it adds the new one to the existing one. In order to make selectedNum reactive, we placed ref() before the value
const selectedNum = ref("");
Unlike the options API where we would have used this.selectedNum to access our data, the composition API uses selectedNum.value to access it. Don't forget to return whatever variable or function we declare in our setup method. We return it just like this.
    return {
      selectedNum,
      keyPressed,
    };
Now, we have a calculator where we can add our values but can't do any calculation yet. To implement the calculation function, let's create more reactive properties. An array where we store our operands and numbers.
    const operands = ["+", "-", "*", "/"];
    const numbers = ["1", "2", "3", "4", "5", "6", "7", "8", "9", "0"];
We store our previous number into a new string (after we have selected a number followed by an operator, we need to move it to a separate variable so we can do the calculation). We also have a new variable for our selectedOperand.
    const prevNum = ref("");
    const selectedOperand = ref("");
With these new variables, we can pimp our keyPressedfunction a teeny bit.
    const keyPressed = (input) => {
      if (input === "=") calculateValues();
      else if (operands.includes(input)) applyOperation(input);
      else if (numbers.includes(input)) appendNumber(input);
    };
We create new functions to handle the different type of input. If the input selected by the user in the calculator is an equals sign( "=" ) then we handle the calculation. If the input is an operand then we have this function.
    const applyOperation = (input) => {
      prevNum.value = selectedNum.value;
      selectedNum.value = "";
      selectedOperand.value = input;
    };
This moves the value of the selectedNum into the previousNum and then clears the selectedNum.
The appendNumber function does what our previous keyPressed function did before we upgraded it. It appends a new value from a button press to the previous one.
    const appendNumber = (input) => {
      selectedNum.value = selectedNum.value + input;
    };
What else is left? Our actual calculation function. We've called it anytime the user inputs the "=" sign.
    const calculateValues = () => {
      if (selectedOperand.value === "*") multiply();

      if (selectedOperand.value === "+") sum();

      if (selectedOperand.value === "-") subtract();

      if (selectedOperand.value === "/") divide();
      prevNum.value = "";
    };
This is pretty straight-forward. We call a function for each selected operand and clear the prevNum so we can go through the process again.
    const multiply = () => {
      selectedNum.value = prevNum.value * selectedNum.value;
    };

    const divide = () => {
      selectedNum.value = prevNum.value / selectedNum.value;
    };

    const subtract = () => {
      selectedNum.value = prevNum.value - selectedNum.value;
    };

    const sum = () => {
      selectedNum.value = prevNum.value + selectedNum.value;
    };
This works perfectly, except for the sum function, because the values are strings, it just appends the inputs together. We can easily fix that by converting them to an integer like this.
    const sum = () => {
      selectedNum.value = +prevNum.value + +selectedNum.value;
    };
Great. Now the calculation has been implemented. But we need to be able to clear all the selectedNum and also implement the del button.
      const clear = () => {
      selectedNum.value = "";
      prevNum.value = "";
      selectedOperand.value = "";
    };

    const delInput = () => {
      selectedNum.value = selectedNum.value.slice(0, -1);
    };
Perfect. Almost done, just one more thing that isn't neccesarily required.
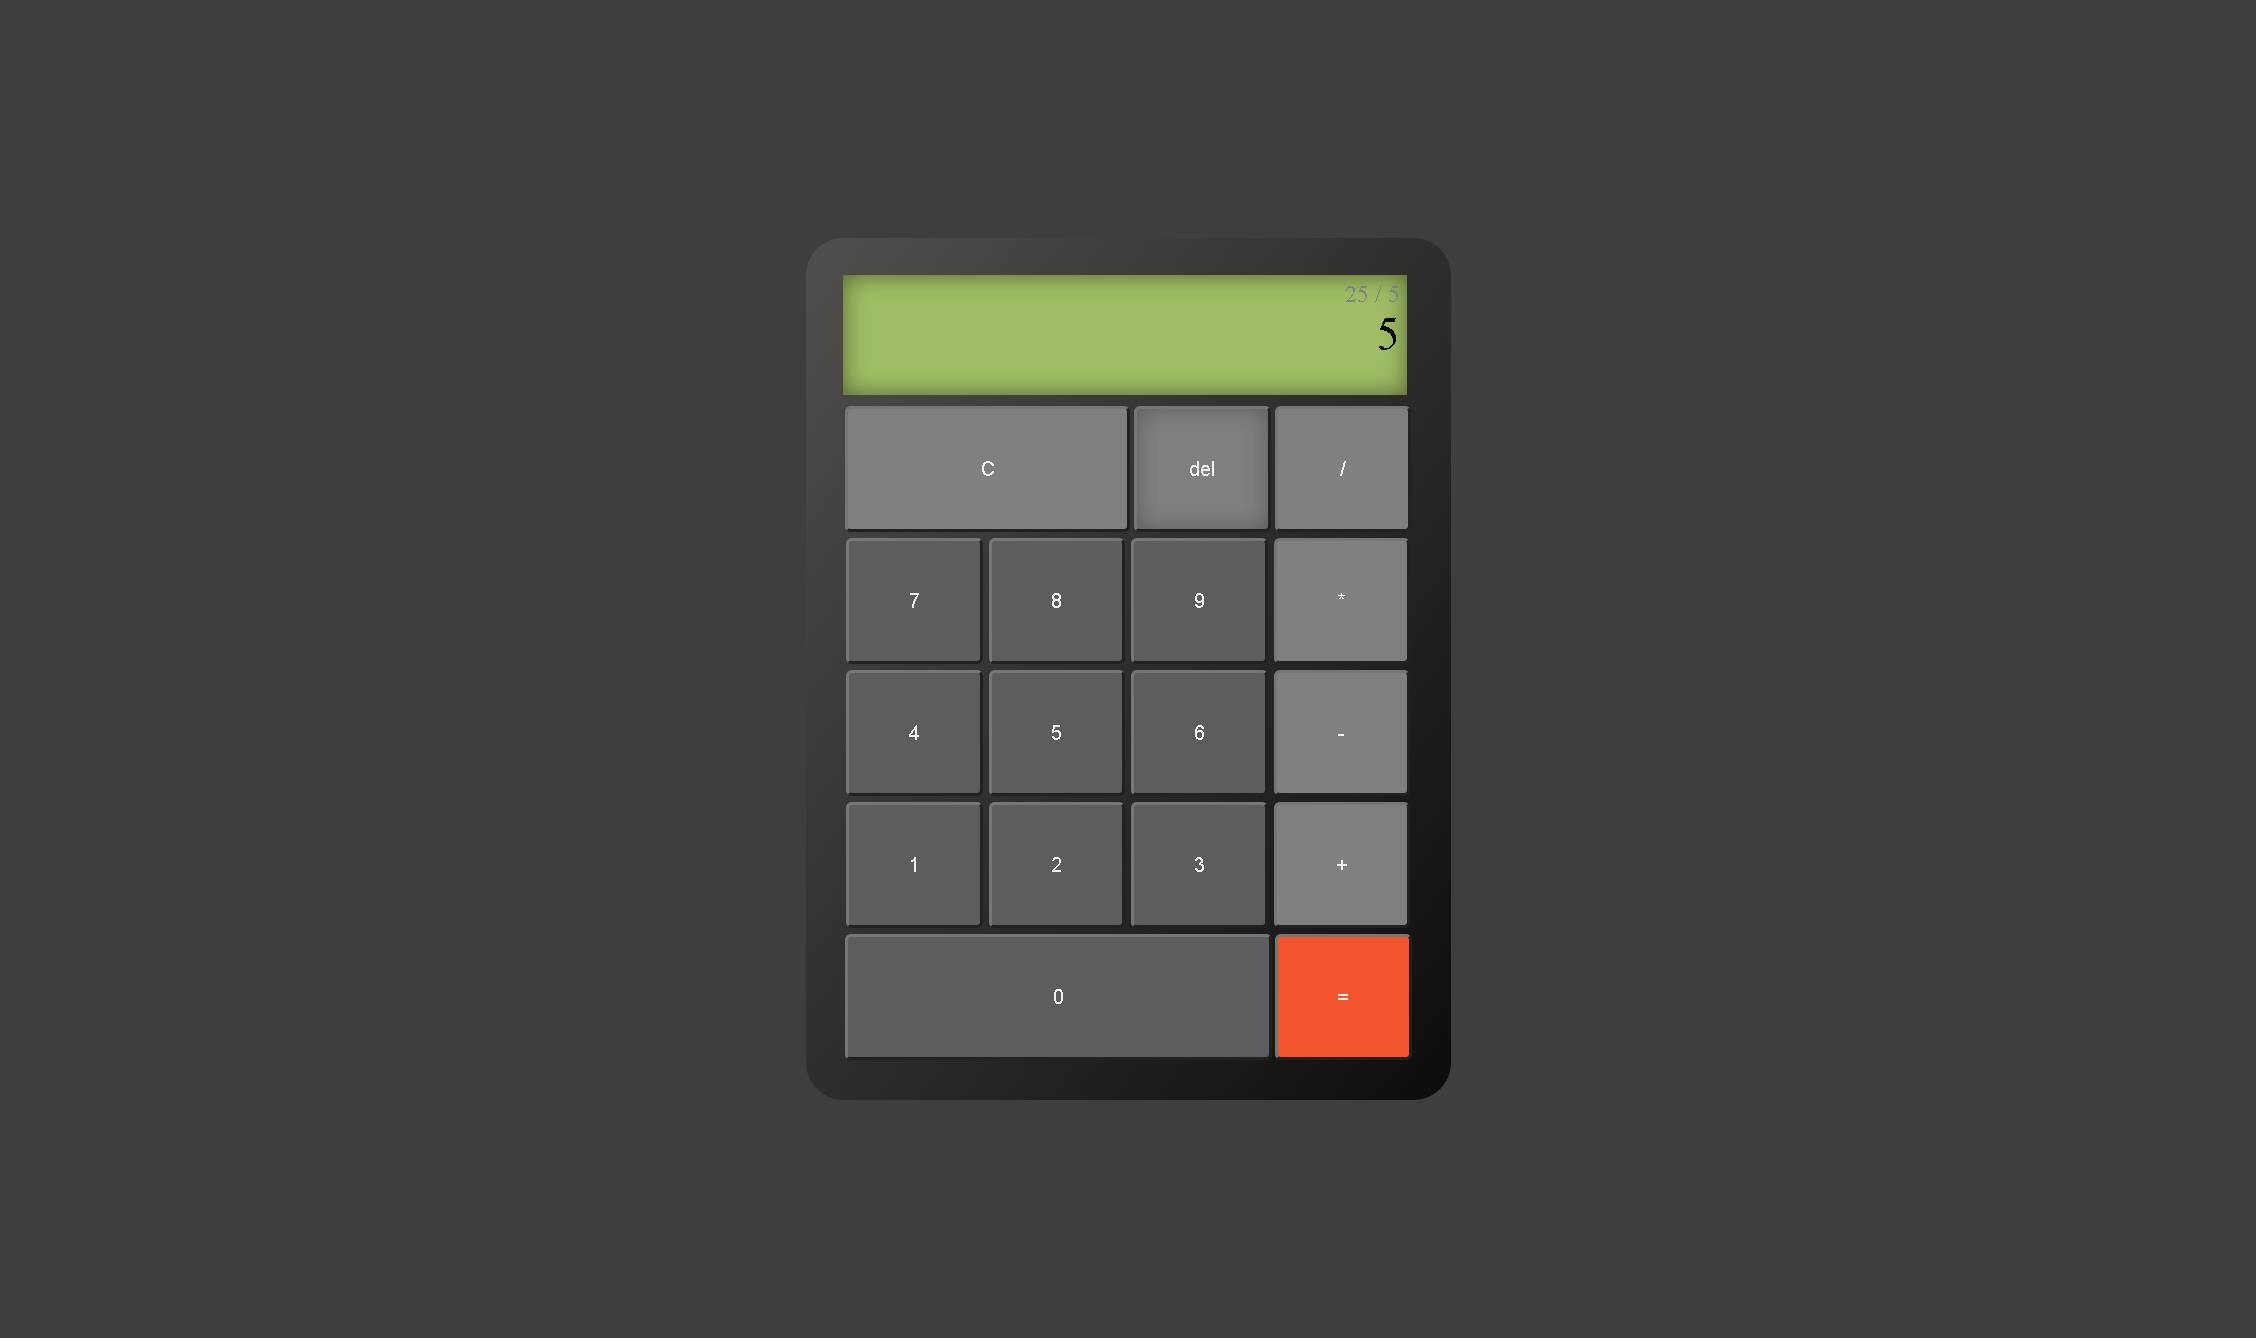
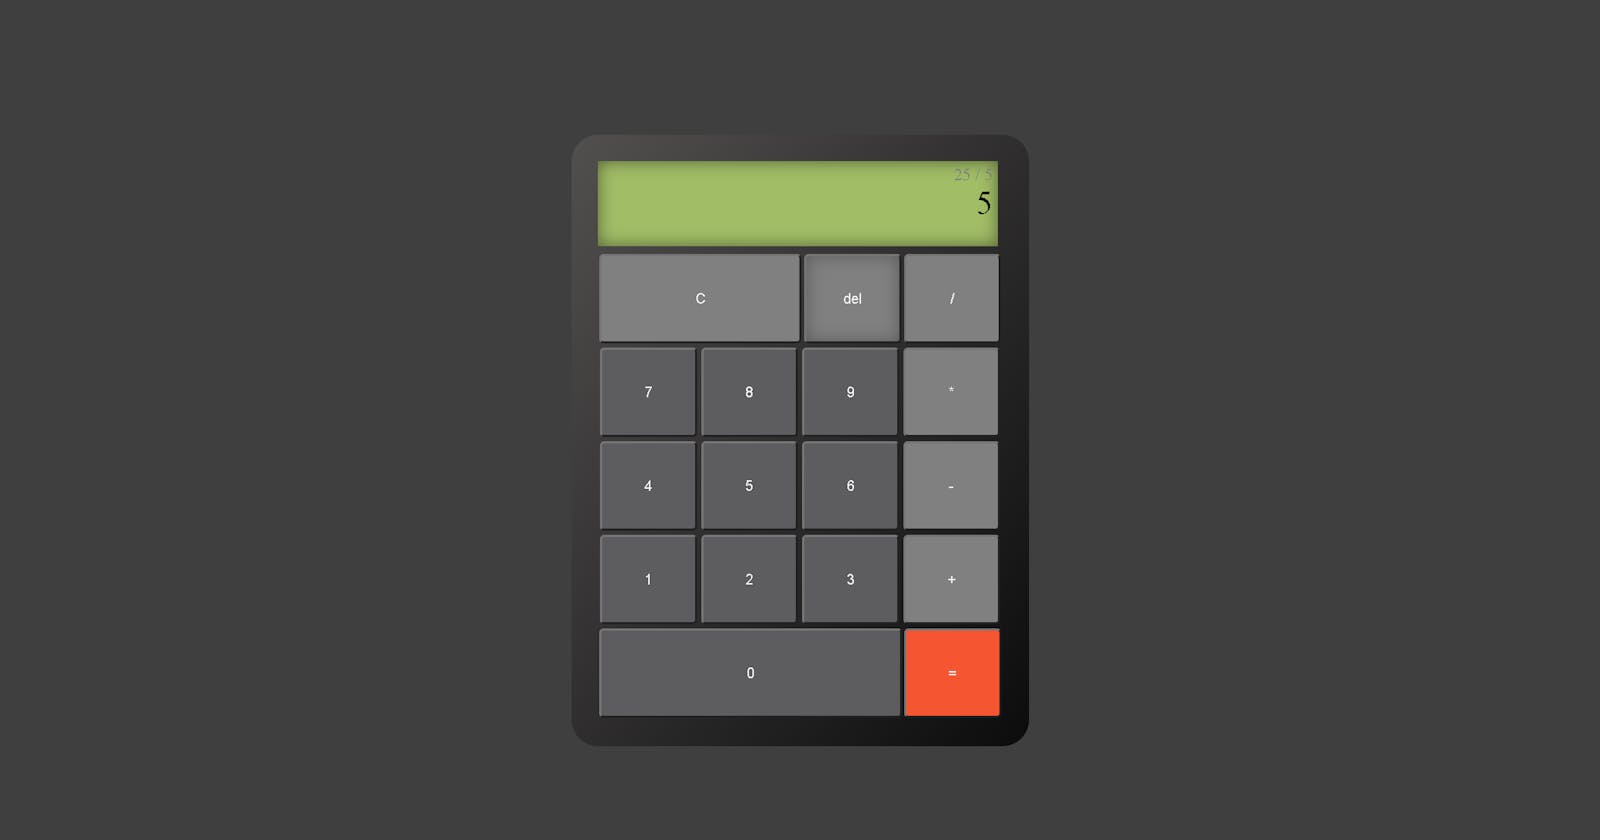
See that tiny text above our input? We can get that by simply just doing this.
      <div class="input-wrap">
        <div class="smalltext" v-if="selectedOperand != ''">
          {{ prevNum }} {{ selectedOperand }} {{ selectedNum }}
        </div>
        <div class="input">{{ selectedNum }}</div>
      </div>
That's it. We have a very basic calculator app we have created using vue 3 composition API. I hope this was helpful!